A lot of boaters put significant thought into which watermaker to buy and very little thought into how it will be installed. That gap is where most installation problems originate.
The right watermaker for your boat is not just about output capacity or power type. It is about where the system will live, how it will be wired, how it connects to your through-hulls, and whether the physical layout of your vessel actually supports the installation you are planning. And if you sail a catamaran, much of the conventional watermaker installation advice written for monohulls does not apply to your situation.
This guide covers what watermaker installation planning actually looks like for both hull types, working through placement, power, plumbing, and sizing so you can make decisions with a clear picture of what your specific boat requires. Whether you are choosing a sailboat watermaker for a 45-foot monohull or a compact system for a cruising catamaran, the principles here apply.
Why Hull Type Changes Your Watermaker Installation Plan
How space and weight distribution differ between hull types
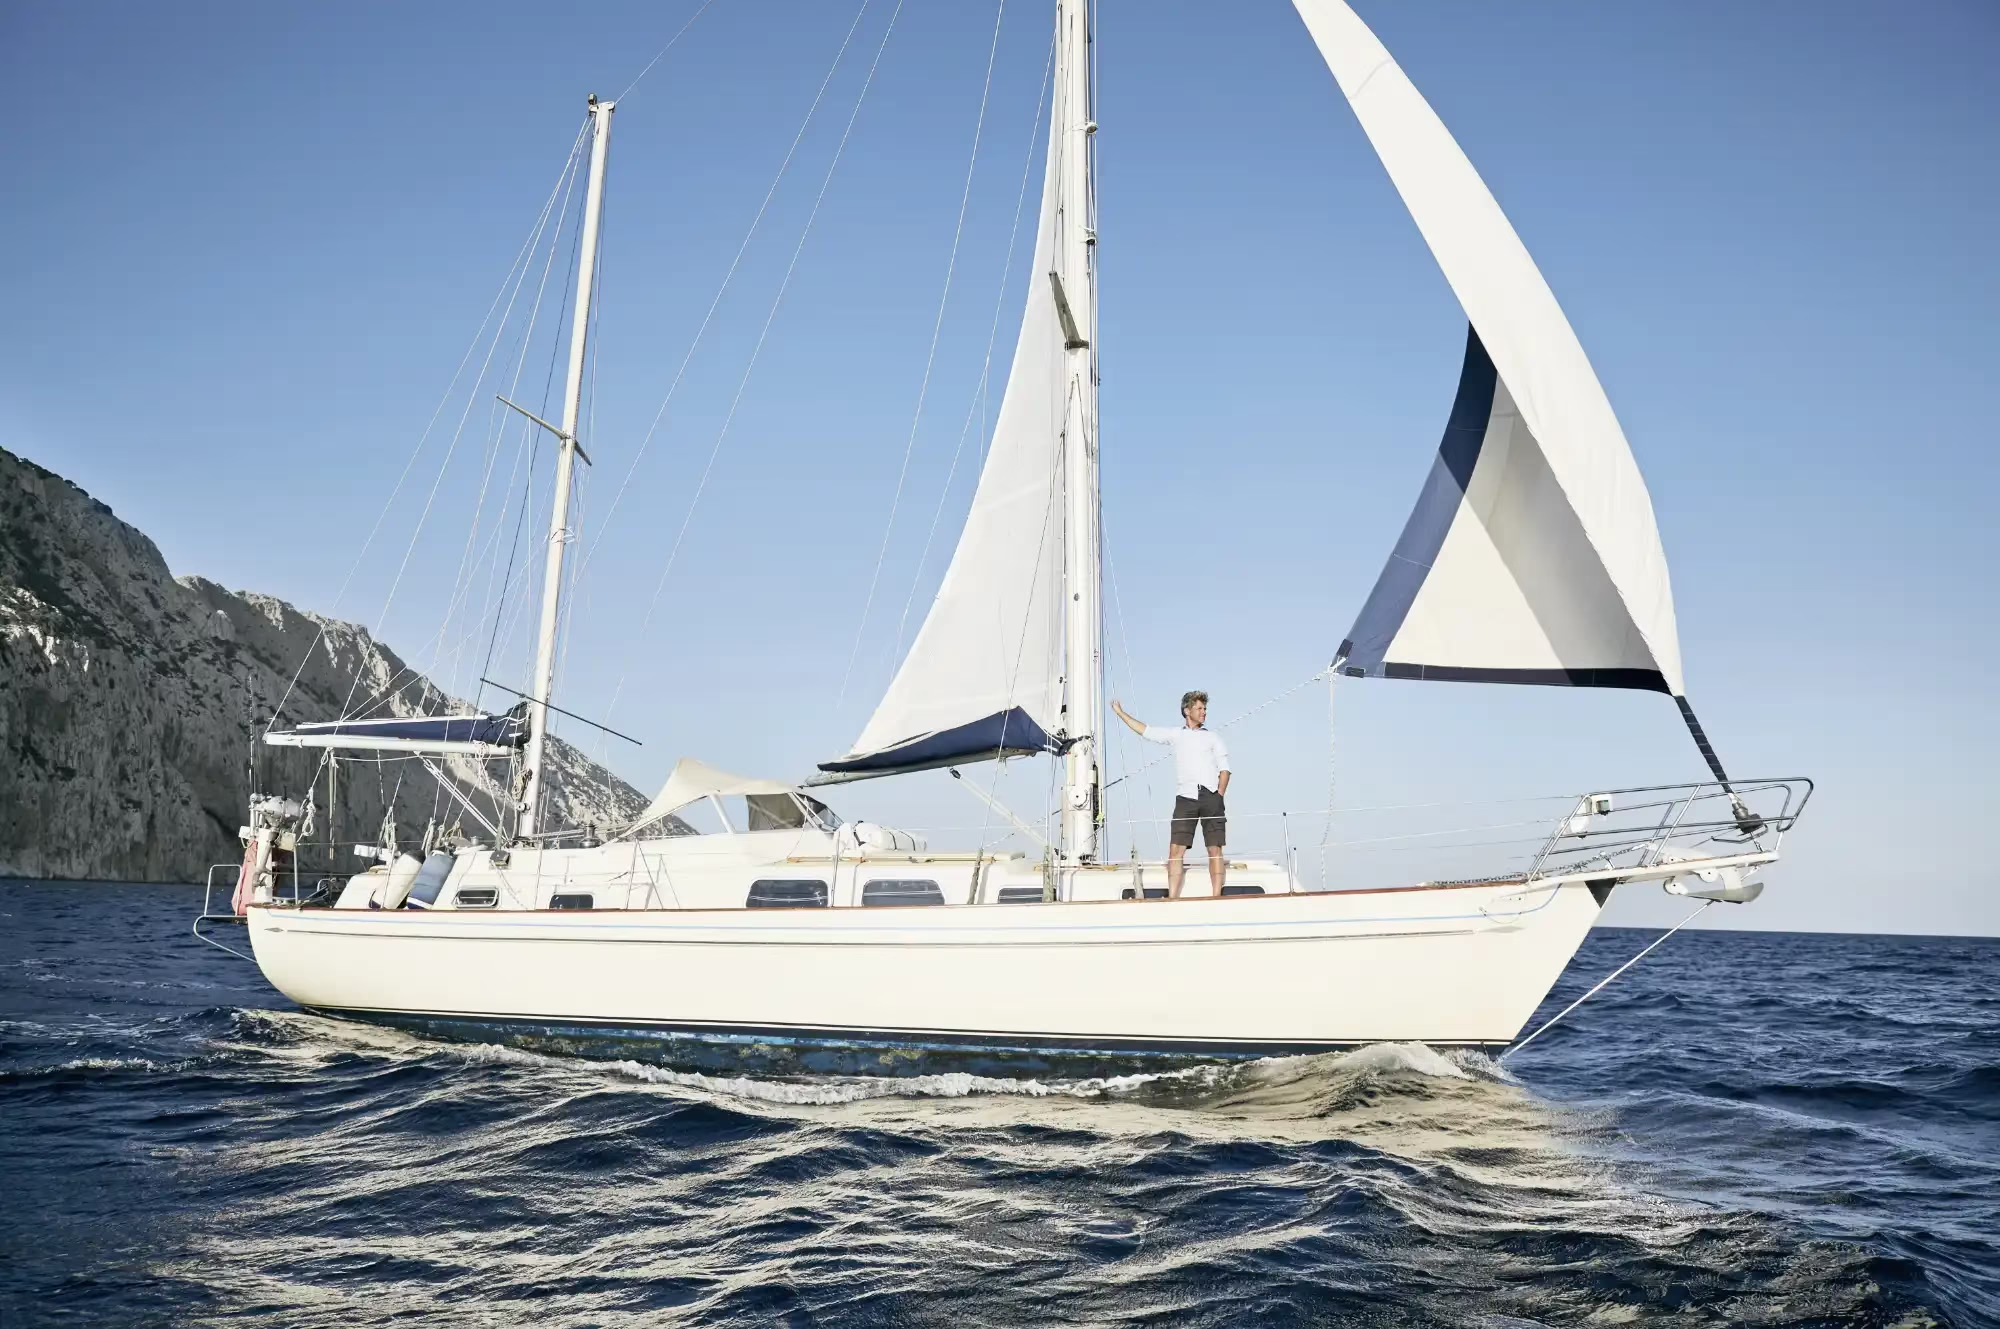
A monohull and a catamaran are fundamentally different platforms, and those differences shape every installation decision.
Monohulls are narrower, typically deeper in the bilge, and carry weight at or below the waterline in a concentrated area. They heel underway, sometimes significantly. That affects both where you can mount a watermaker and how the pump performs when the boat is at an angle.
Catamarans are wider, flatter, and distribute weight across two hulls with a bridge deck connecting them. They stay relatively level underway, which simplifies some installation decisions. But the space inside each hull is often narrow, and the available compartments are split across two separate structures, which adds complexity.
Understanding these physical realities before you spec out your installation avoids the most common mistakes: putting a system somewhere it cannot be accessed for servicing, mounting a pump in a position that starves it of feed water when the boat heels, or underestimating the wiring run to a remote installation point.
Why a one-size-fits-all installation approach fails at sea
Marine watermaker installation guides written for general audiences often assume a single typical boat layout. In practice, the difference between a fin-keel 42-foot sloop and a 45-foot cruising catamaran is substantial enough that many general recommendations simply do not translate.
A monohull sailor who installs a system based on catamaran advice may end up with a pump mounted too high relative to feed water, creating the conditions for cavitation. A catamaran owner who follows monohull guidance may underestimate how much more challenging it is to route a single feed and product water line across a bridge deck to connect both hulls to one system.
The better starting point is to understand what your hull type actually demands, then fit the system to that reality.
Watermaker Placement on a Monohull
Below-waterline vs. above-waterline positioning and what it affects
On a monohull, the ideal position for the high-pressure pump is at or below the waterline. This is not just a convenience consideration; it directly affects performance. A pump mounted above the waterline has to work against a suction head to draw feed water up to the inlet. That additional load reduces efficiency and, in marginal sea states, can cause cavitation if the feed water supply becomes inconsistent.
Below-waterline placement keeps the pump primed and well-fed under most conditions, including when the boat is heeled, and the through-hull is partially exposed on the high side of the vessel.
Engine room vs. bilge vs. dedicated locker: pros and cons of each
Most monohull installations end up in one of three locations:
Engine room: Good for heat dissipation in AC systems, usually close to the seacock, accessible for servicing. The downside is space competition with the engine and other equipment, and temperature extremes in the tropics.
Bilge or low-lying locker: Good for keeping the pump close to or below the waterline. The downside is potential for water ingress, limited ventilation for DC motor systems, and tight access for servicing.
Dedicated equipment locker: The cleanest solution when the layout allows for it. Allows proper ventilation, organized plumbing runs, and easy access. Not always possible on smaller monohulls.
Whichever location you choose, the priority is: pump below waterline, clean ventilation around the motor, accessible fittings and filter housings, and a short plumbing run to the through-hull.
Managing heel and vibration for pump longevity
Monohulls heel. Your watermaker installation needs to account for it. Mount the pump securely on a rigid surface with vibration-isolating mounts if possible. Flexible hose connections at the pump inlet and outlet absorb movement without fatiguing fittings or creating micro-leaks at connections.
Consider the worst-case heel angle your boat regularly sails at, and confirm that the through-hull seacock will remain submerged at that angle. On some deep-keeled boats with a seacock positioned high on the hull, steep heel can briefly expose the through-hull and introduce air into the feed line. If your boat sails regularly at 25 to 30 degrees, your installation plan should address this directly.
Watermaker Placement on a Catamaran
Using the bridge deck or amas: access vs. heat exposure tradeoffs
Catamarans offer more total volume than comparably sized monohulls, but that volume is distributed in ways that create real installation tradeoffs.
The bridge deck, the area between the two hulls above the waterline, is sometimes used as a watermaker installation point. It offers central access and keeps the system clear of the hulls, but it places the pump above the waterline, which creates the same priming and cavitation risks described for high-mounted monohull installations. It also exposes the system to more heat in tropical conditions and more spray in rough weather.
The amas (the hulls themselves) are generally the better location. Below-waterline mounting is achievable in the forward or aft sections of either hull, and the system stays protected from spray and temperature extremes. The tradeoff is access: hull compartments on catamarans are often narrow and require planning to ensure you can actually reach fittings, filter housings, and the pump head when service is needed.
Splitting the system across hulls: when it makes sense
Most catamaran watermaker installations use a single system housed entirely within one hull. For larger-capacity systems or for redundancy, some owners split components: feed pump in one hull, high-pressure pump and membrane housing in the other. This approach can optimize weight distribution but adds significant plumbing complexity and increases the number of potential failure points.
For most cruising catamarans, a single integrated system installed in the most accessible hull compartment is the right call. If you are considering a split installation, discuss the specific plumbing routing with ECHOTec’s team before committing to a layout.
Weight distribution considerations in a multihull
Catamarans are sensitive to asymmetric loading in ways that monohulls are not. A watermaker system typically weighs between 30 and 80 kg depending on capacity. Installing the full system in one hull shifts that weight asymmetrically. For a large performance catamaran, that matters. For a cruising cat already carrying a mixed load of gear and provisions, the watermaker weight is usually not a significant factor.
The key question is whether you are adding the watermaker to a vessel that is otherwise fairly balanced, or to one that already has a notable list to one side. If the latter, install the watermaker on the light side.
Power Planning for Your Watermaker Installation
DC system wiring for 12V and 48V setups
DC watermaker systems are the most common choice for sailboats, and for good reason. They run directly from the house battery bank, integrate naturally with solar and wind charging systems, and do not require a generator to operate.
The most important DC wiring consideration is wire gauge over the run length. Voltage drop is the enemy of DC watermaker performance. A system drawing 20 amps over a long wiring run with undersized cable will deliver less voltage at the pump than the system needs, which reduces pressure, reduces output, and over time stresses the motor.
Consult a marine ampacity chart using your system’s rated draw and the total wire run length (positive and negative combined) to confirm wire gauge before installation. For most systems, 12V or 48V, run the largest practical gauge to minimize voltage drop. A dedicated circuit from the battery bank with a properly rated fuse or circuit breaker is standard practice.
AC installation requirements and when a generator matters
AC watermaker systems deliver higher output capacity and are well-suited for larger vessels with reliable AC power from a generator or shore power connection. On both monohulls and catamarans, the AC installation follows standard marine electrical practice: shore power or generator feed, proper circuit protection, and a dedicated panel circuit sized to the system’s amperage draw.
If you are on a sailboat and considering an AC system, the question is whether your power generation setup can sustain watermaker operation while offshore. A system that only runs on generator power is a running cost and noise consideration for long passages. Many offshore sailors prefer DC for independence from the generator.
Solar integration and how hull layout affects panel capacity
Combining a DC watermaker with solar charging is one of the most practical setups for independent cruising. The system runs on battery power built up through solar, and with sufficient panel capacity, you can produce water without running the engine.
Catamarans have a significant advantage here. The wide, flat coach roof provides substantially more usable panel surface area than a monohull. A well-equipped catamaran can carry 800 to 1,200 watts of solar capacity or more, which, in good sun conditions, supports full-time watermaker operation with power to spare.
Monohulls are more constrained. Panel area is limited by the cabin top geometry and the need to leave space for hatches, crew movement, and sail handling. Many monohull sailors run their watermaker primarily while motor sailing, using engine alternator output alongside the battery bank rather than relying on solar alone.
Plumbing, Seacocks, and Feed Water Considerations
Through-hull placement by hull type
Both monohulls and catamarans require a dedicated seacock for the watermaker feed water intake. This should never be shared with the engine raw water intake or any other system. A dedicated seacock gives you a clear shutdown point for the watermaker without affecting other systems, and it protects the watermaker from debris or contamination introduced by the engine intake.
On a monohull, the seacock is typically placed low on the hull, below the waterline at all typical heel angles. On a catamaran, the seacock placement in the hull is more straightforward because the boat stays level, but you still need to confirm it stays submerged at anchor and in light chop.
Feed water temperature, salinity, and pre-filtration planning
Warm water reduces the density of seawater, which affects how much pressure is needed to drive the reverse osmosis process. Tropical water also carries more biological load, which means pre-filtration is more important in warm climates than cold ones.
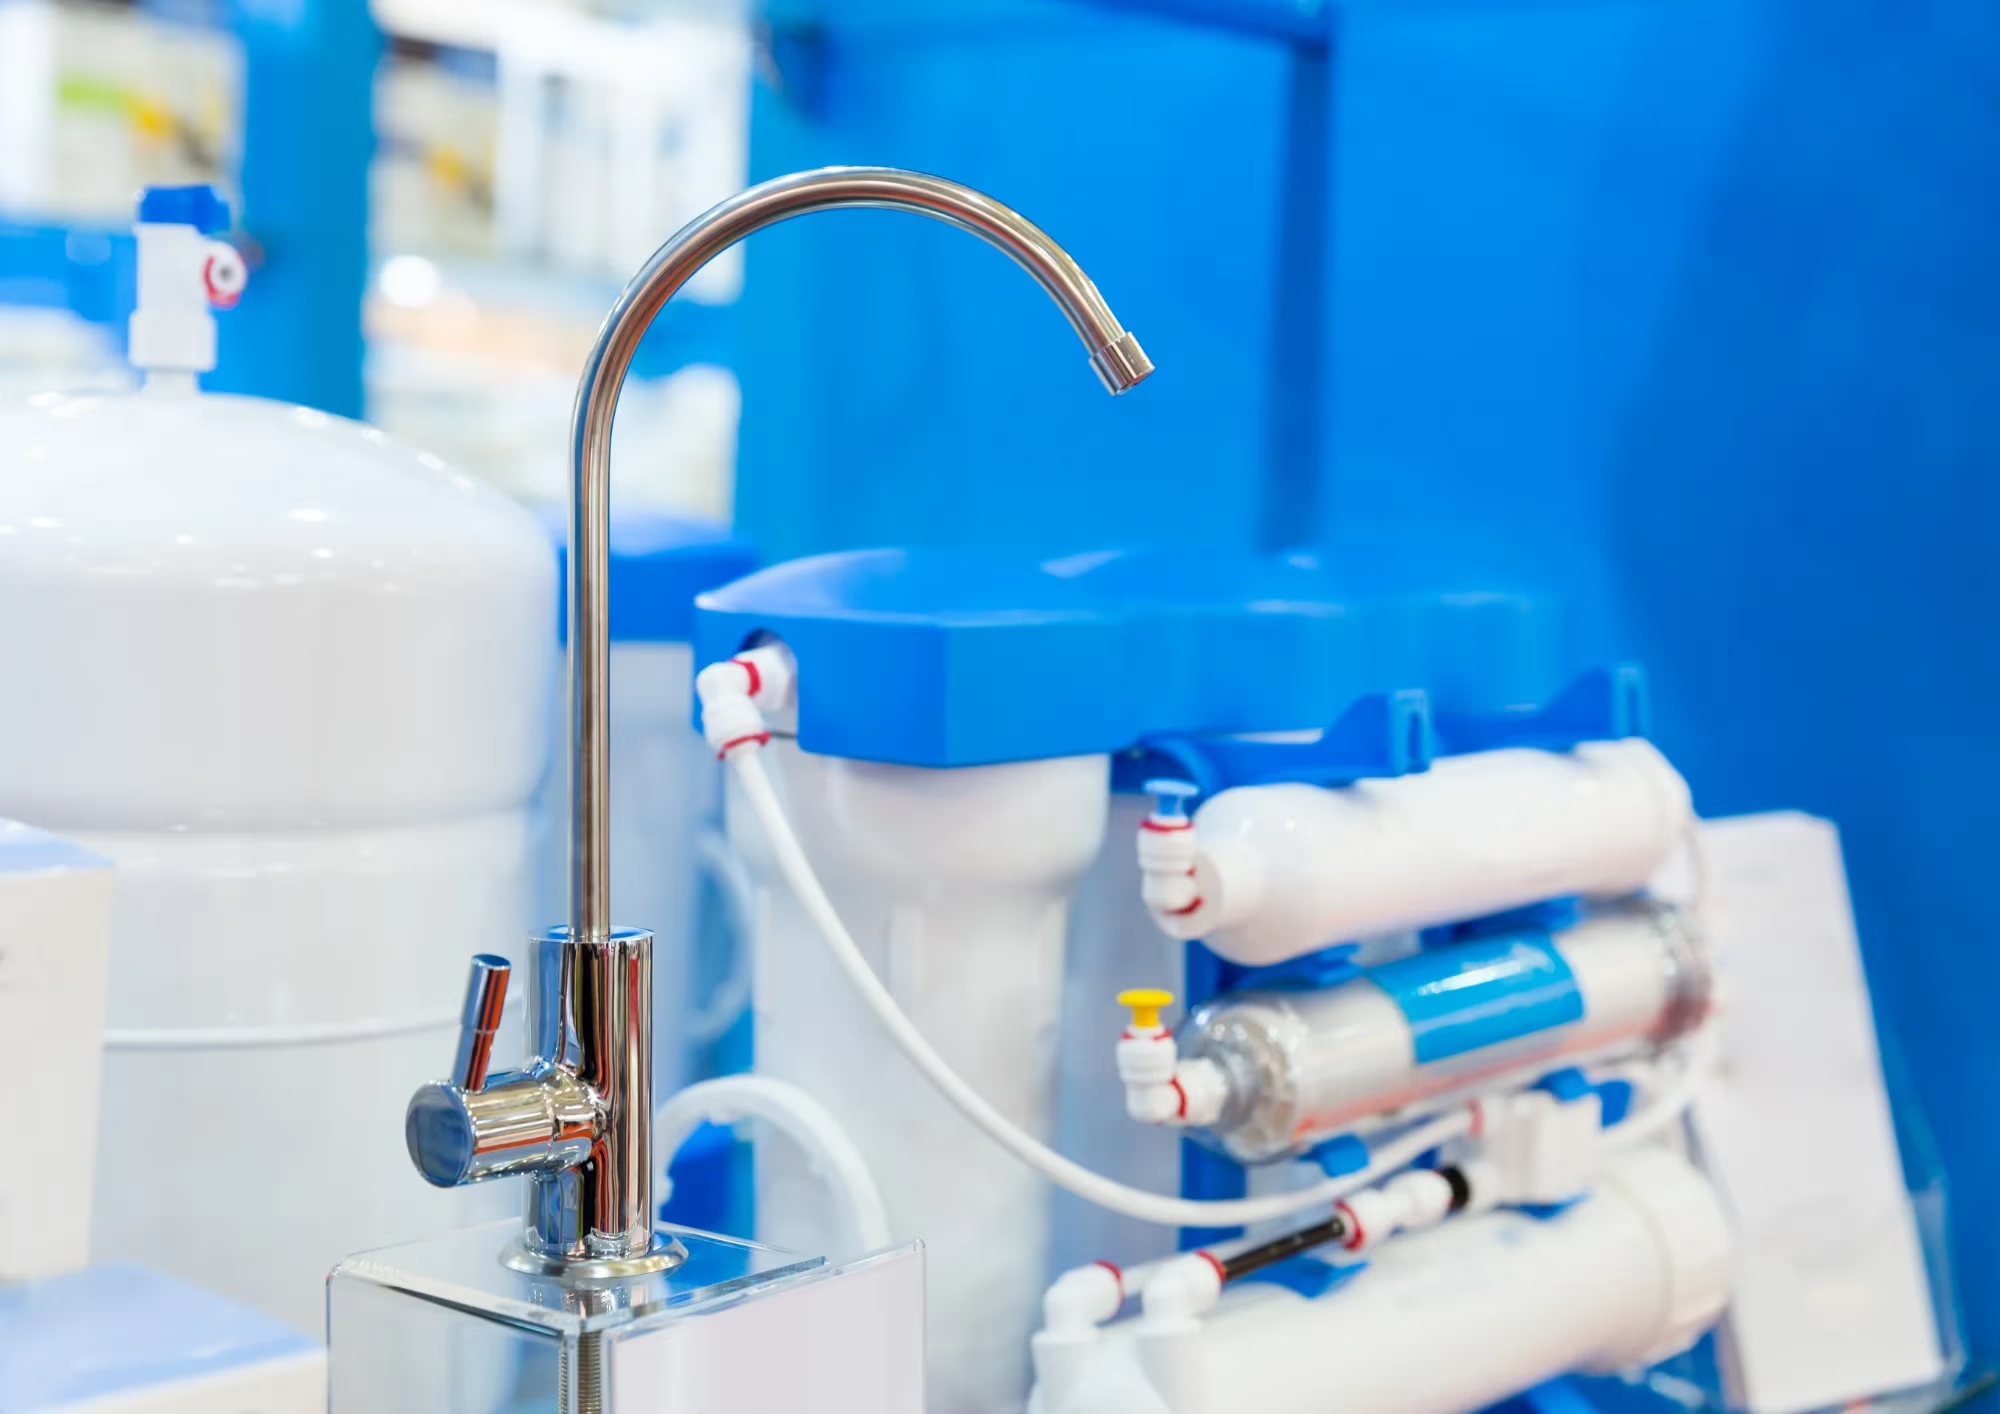
A standard pre-filtration setup uses a 25-micron or coarser sediment pre-filter followed by a 5-micron fine filter before the high-pressure pump. In areas with significant biological activity, an additional carbon or anti-biological stage is worth considering to protect the membrane. For your desalination system for boats to perform consistently, the pre-filter housing needs to be easily accessible for regular cartridge changes.
Discharge line routing to avoid recirculation
The concentrate discharge line carries the salt-rejected water back overboard. On both hull types, route this line so that discharge exits well away from the feed water intake. On a monohull, this typically means routing the discharge to a through-hull on the opposite side from the intake, or well aft of it.
On a catamaran, the wider beam works in your favor here. Intake and discharge through-hulls can be positioned on opposite sides of the same hull with little risk of recirculation.
Recirculation, where concentrate discharge re-enters the feed water intake, degrades feed water quality over time and reduces the membrane’s effectiveness. It is easy to prevent with proper routing and worth confirming before final installation.
What Size Watermaker Does Your Boat Need?
GPD output guidelines for liveaboards vs. coastal cruisers
Sizing a marine watermaker comes down to how much water your crew uses per day and how you cruise.
A general starting point: plan for 5 to 8 gallons (19 to 30 liters) per person per day for a liveaboard situation that includes cooking, washing, and reasonable freshwater comfort. Coastal cruisers who make regular port stops can work with less. Offshore passage makers who rely on the watermaker as the primary water source should size for a comfortable daily production margin above their actual consumption.
For a crew of two on an offshore passage, a system producing 20 to 25 GPH run for 1 to 2 hours per day covers most needs. For a family of four living aboard full-time, a higher-capacity system or longer daily run time is appropriate.
How crew size, storage capacity, and passage length affect sizing
Three variables should drive your sizing decision:
Crew size: More people means more daily consumption and less margin for skipping a production cycle.
Tank capacity: A boat with 200 gallons of tank storage can bank production over several days, which gives flexibility. A boat with 40 gallons needs to run the watermaker more frequently and cannot afford missed cycles.
Passage length: Offshore passages mean the watermaker is your only source. Size conservatively so that a half-day of reduced output due to sea conditions does not put you short.
If you are unsure what size system fits your setup, ECHOTec’s team can help you work through the math. The right starting point is your tank capacity and daily consumption, not the maximum GPH number on a spec sheet.
Professional Installation vs. Owner-Install: What to Consider
What a professional installation covers that DIY often misses
Owner installation is practical and achievable for many marine watermaker systems, particularly compact DC units on sailboats with accessible layouts. ECHOTec designs its systems to be installed by the owner, with clear guidance and worldwide parts support to back it up.
That said, professional installation covers several areas that DIY often gets wrong on the first attempt:
- Correct seacock sizing and placement for the specific hull
- Through-hull drilling at the right angle and location to avoid interference with the keel or centerboard trunk
- Wiring run sizing and fusing calculated to the actual installation, not a generic chart
- Pressure testing all connections before the first run
- System commissioning and initial output verification against factory specifications
A missed step in any of these areas costs more to fix after the fact than it would have cost to include a professional commissioning visit from the start.
When ECHOTec’s installation team makes sense for your project
ECHOTec operates installation and service facilities in Trinidad and Tobago and Port St. Lucie, Florida, giving access to professional watermaker installation services across the Caribbean and North American coast.
If you are commissioning a new system on a larger vessel, converting from an older system, or dealing with a complex layout, the professional installation route ensures the system is set up correctly from day one. For straightforward installations on smaller boats with accessible compartments, our remote guidance and commissioning support can walk you through each step without requiring a service visit.
A watermaker is a long-term piece of equipment. Getting the installation right protects that investment for years of reliable service.
If you are ready to plan your installation or want guidance on sizing and placement for your specific vessel, visit echotecwatermakers.com or reach out at sales@echotecwatermakers.com. We are glad to help you work through the details before you pick up a drill.
Frequently Asked Questions
Where is the best place to install a watermaker on a sailboat?
On a monohull sailboat, the high-pressure pump should be mounted at or below the waterline whenever possible, in a ventilated space with clean access to fittings and filter housings. Common locations include the engine room, a dedicated equipment locker, or a low-lying bilge locker. On a catamaran, install the system inside one of the hull compartments, positioned below the waterline and on the side that makes the most sense for weight balance and plumbing access.
How long does watermaker installation take?
A straightforward DC watermaker installation on a well-prepared boat typically takes one to two full days for an experienced owner or a professional. More complex installations involving AC wiring, custom plumbing runs, or through-hull drilling in difficult locations can take longer. Allowing a full weekend for the installation and a test run before departure is a reasonable plan for most boats.
Can I install a watermaker myself?
Yes, ECHOTec builds its systems to be owner-installable, and many customers complete successful installations without professional help. The keys are reading the installation manual thoroughly before starting, sizing your wiring correctly, pressure-testing all connections before the first run, and commissioning the system at the dock rather than at sea. If you are unsure about any part of the process, ECHOTec’s team can provide remote installation support.
What size watermaker do I need for a catamaran?
That depends on your crew size, tank capacity, and how you cruise. A couple cruising a 40 to 45-foot catamaran with moderate tank storage typically does well with a system producing 20 to 30 GPH, run for one to two hours per day. A larger crew or a liveaboard situation may benefit from a higher-capacity unit or longer daily run cycles. ECHOTec’s team can help you calculate the right sizing based on your specific setup.
Do catamarans need a different watermaker than monohulls?
Not necessarily a different system, but often a different configuration. The watermaker itself can be the same model, but the installation plan, plumbing routing, and power setup need to account for the catamaran’s layout: wider beam, split hull storage, and typically greater solar panel capacity. Sizing and placement decisions that work well on a monohull may need adjustment for a multihull.
Is a professional watermaker installation worth the cost?
For straightforward installations on smaller boats, many owners install successfully without professional help. For larger vessels, complex layouts, AC system installations, or situations where the through-hull placement requires precision drilling, professional installation protects the system and the boat. ECHOTec offers both on-site installation services and remote commissioning support depending on your location and the complexity of the project.